Showing posts with label baking. Show all posts

Thursday, October 27, 2011

Chocolate bats and ghosts

I made some cupcakes for the cake-walk at Cal J's school carnival this week. I used store bought cake mix, and store bought icing. Since I took the easy way out on the baking, I wanted to adorn my box-mix cupcakes with something cute and clever. Chocolate bats and ghosts!

Here's what I did.


I drew several bats on a piece of paper. My artistic skills are lacking, but they looked enough like bats that I went with it.


I just placed a sheet of wax paper over my stenciled bats, which was sitting on an inverted cookie sheet.


I melted chocolate and placed it in a plastic sandwich bag (which I cut a very small hole at the tip) and traced around the stencil. Then I filled in the whole bat with chocolate so the whole stencil was covered.


I placed in the fridge until they had firmed up and placed on my cupcake.


Done.


For the ghosts. I just free-handed a (sort of) apostrophe shape.


Then filled it in.


Added some arms...


..two eyes and a mouth, (using the chocolate from my aforementioned bats). Refrigerate, then decorate.


...and done again.

It's almost Halloween. Are you ready?


Friday, April 15, 2011

Finally, I'm back (with some cookies)

After months of being camera-less from our aforementioned robbing. I finally made a decision and picked out my new camera. Woo-hoo! My life feels whole again. ;)

Now let's see if I even remember how to post one of these anymore... ah yes, it's coming back to me.

Easter is just around the corner and these little morsels (Cadbury mini-eggs) make me salivate. Thankfully they only come out once a year. Do yourself a favor - buy a bag - and make some cookies!


Here is a wonderful little recipe from Our Best Bites which you can find here. What if you don't like these little chocolate wonders? My heart goes out to you my friend!


They're wonderfully delicious!

Thursday, December 30, 2010

Melted snowman cookies


It's been a pretty frigid winter thus far - and it's only the beginning. Yikes!

Here are some melted snowman cookies that I made.

I originally saw them from Smashed Peas and Carrots, go here for the recipe and directions.


I have a feeling that people in certain parts of the country really wish they had some snow melting!

Enjoy! And stay warm out there! :)


Friday, August 27, 2010

Chocolate chip cookies


Have you heard of the Deceptively Delicious cookbook by Jessica Seinfeld? Well, it's great! I'm pretty lucky because both CalJ and Ry-pie are NOT veggie snobs, so I technically don't have to "sneak" stuff into their food - but I'll never shy away from a recipe that tucks in a couple more healthy options.

Here is a recipe for her Chocolate chip cookies. Or as I like to call them... choco chick pea chip cookies. Yup! You heard me - chick peas. Or Garbanzo's. Whatever your fancy.

It sounded pretty odd to me at first. I gave it a try anyways and was totally sold! You can't tell that there are actual - whole - chickpeas in them. In fact, Josh knew something was different just by looking at the little butterscotch colored mounds and asked if they were peanut butter chips. Hehehe!

Ingredients

    nonstick cooking spray
    1 c firmly packed brown sugar
    3/4 c trans fat-free soft tub margarine
    2 large egg whites
    2 tsp pure vanilla extract
    1 15 ounce can chickpeas, drained and rinsed
    2 cups semisweet chocolate chips
    2 cup ap flour
    1/2 cup oats
    1 tsp baking soda
    1/4 tsp salt


Directions

1. Preheat oven to 350. Coat a baking sheet with cooking spray.
2. In a large mixing bowl, or the bowl of an electric mixer, beat the sugar and margarine with a wooden spoon or on medium speed until smooth. Beat in the egg whites and vanilla, then the chickpeas and chocolate chips. Add the flour, oats, baking soda, and salt, and mix on low speed until a thick dough forms.
3. Drop the dough by the tablespoonful onto the baking sheet, spacing the cookies about 2 inches apart. Press gently with a fork to flatten. Bake until the cookies are golden brown and just set, 11 - 13 minutes; do not overbake. Transfer to a rack to cool.
4. Store in an airtight container for up to 3 days.


Hmmmmm...........

Loved them! See? I told you!!!


Friday, August 13, 2010

Black forest chocolate cupcakes


These beauties are delicious. These beauties are easy to make. These beauties were extra awesome because all I did was take the pictures! ha!

CalJ had his first stay-away-from-home this past weekend with Josh's parents. So he got to get a little kitchen time with his grandmom, and this is what they made.

Recipe: Black Forest Chocolate cupcakes adapted from allrecipes.com

Ingredients

  • 1 (18.25 ounce) package chocolate cake mix
  • 1 (250 g) package brick Cream Cheese, softened
  • 1 egg
  • 2 tablespoons sugar
  • 1 (19 ounce) can cherry pie filling
  • 1 1/2 cups thawed COOL WHIP Whipped Topping (or get extra fancy like my mother-in-law and make your own with heavy whipping cream and sugar)

Directions

  1. Heat oven to 350 degrees F. Prepare cake batter as directed on package for the light or low-fat version; set aside. Mix cream cheese, egg and sugar until well blended.
  2. Remove 3/4 cup of the cherry pie filling for garnish; set aside. Spoon 2 tablespoons cake batter into each of 24 paper-lined medium muffin cups. Top each with 1 tablespoon each of the cream cheese mixture and the remaining cherry pie filling. Cover evenly with remaining cake batter.
  3. Bake 20 to 25 minutes or until toothpick inserted in centres comes out clean. Cool 5 minutes; remove from pan to wire racks. Cool completely. Top with whipped topping and reserved cherry pie filling just before serving.
  4. And add some extra pizzaz with some chocolate shavings - that's what my mother-in-law did!


Thursday, June 10, 2010

Brownie cups

Brownie mix + Nutella = pure and utter deliciousness


I just used a store box brownie mix (low-fat even), and oomphed up the goodness by putting a dollop of Nutella in the center before baking.

The Nutella kind of sinks to the bottom during baking leaving an ooey gooey hazelnut center in your brownie.

Pretty delitghtful. And a good, (if not only) reason to crank on the oven in this crazy heat!


Enjoy! And have a great weekend!


Friday, May 21, 2010

Blueberry pies


This was adapted from a Martha Stewart Everday Food recipe. Here are her directions And I'll just explain how I did it.

Ingredients:
Crust:
2 1/2 cups all-purpose flour, plus more for rolling
1 teaspoon salt
1 teaspoon sugar
1 cup (2 sticks) cold unsalted butter, cut into pieces
4-8 tablespoons ice water

Filling:
2 cups mixed berries (fresh or frozen), such as blackberries (halved if large), blueberries, raspberries, and strawberries (quartered)
I only had blueberries on hand so that's what I used. I love the fact that I could use frozen berries!
1/2 cup sugar, plus more for sprinkling
2 tablespoons cornstarch
4 teaspoons fresh lemon juice
2 large eggs, beaten with 1 tablespoon water, for egg wash

So I'm not the greatest "crust" maker but it's pretty easy to make.

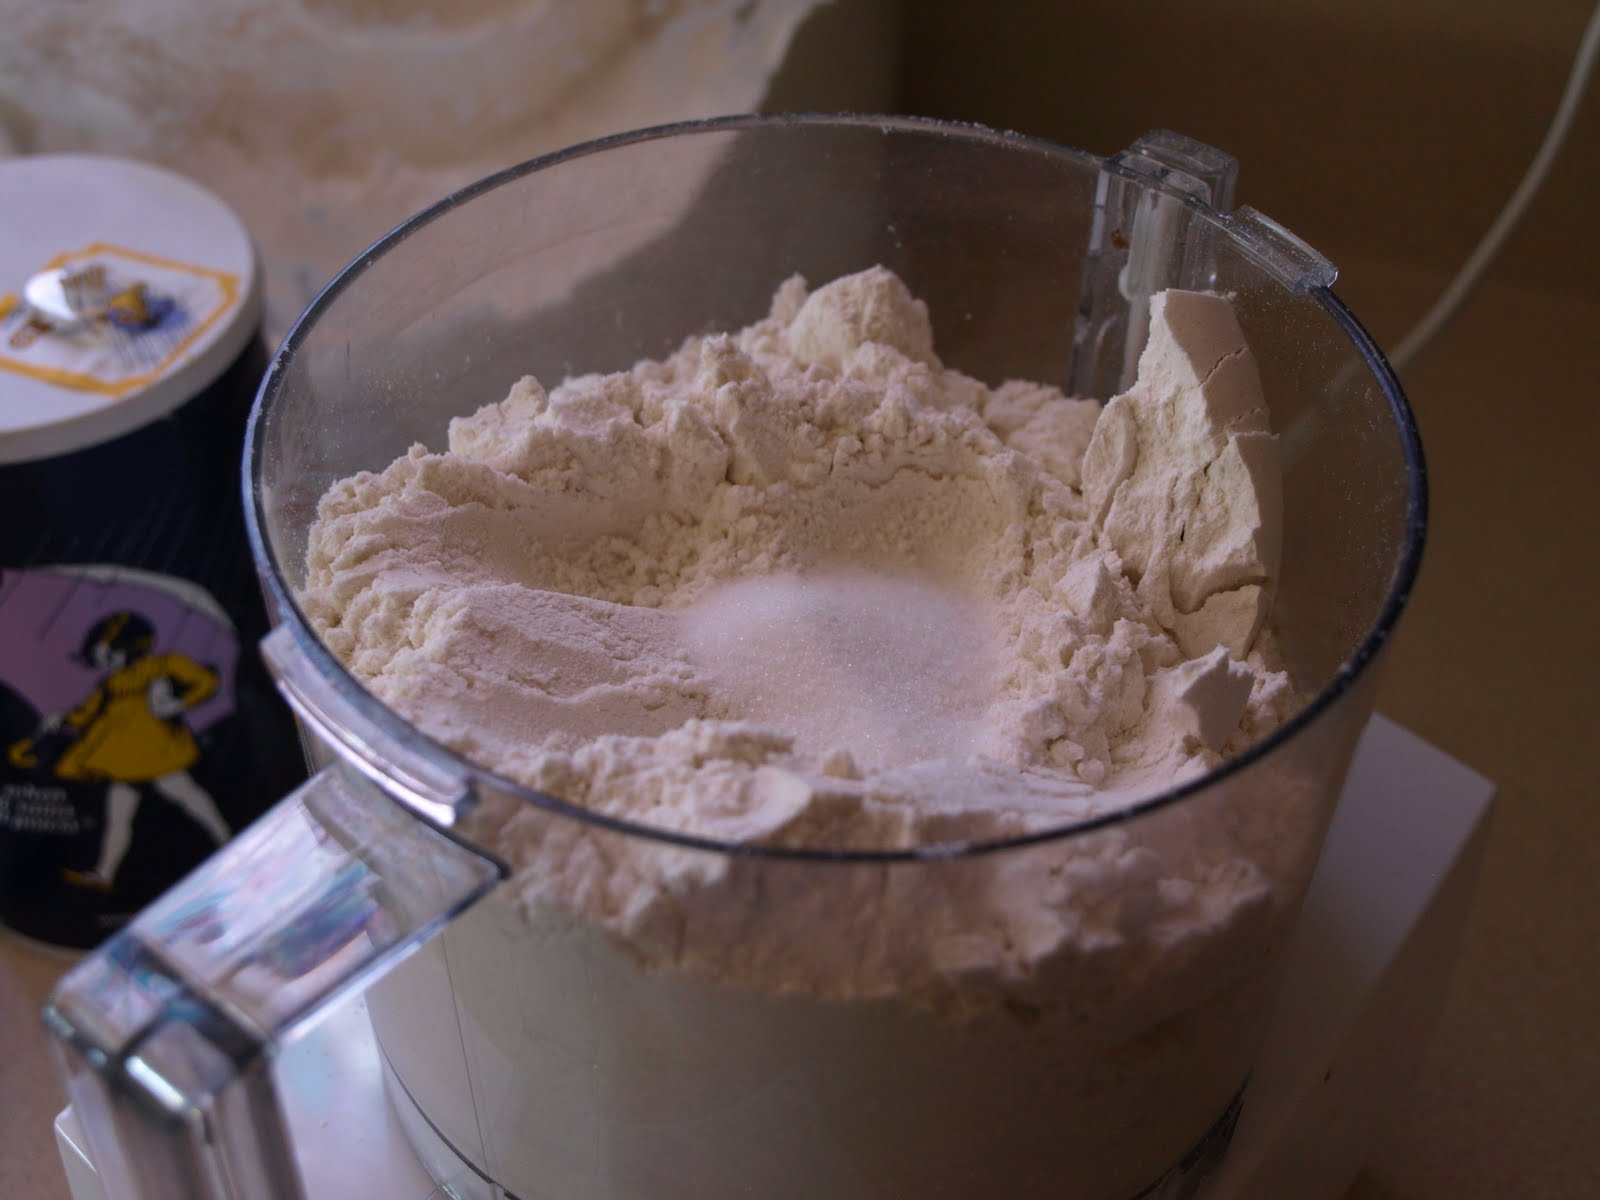
Add your flour, sugar, and salt into a food processor and blend lightly. The original recipe called for 1 tsp of salt but I used salted butter so I cut it down to 1/4 tsp instead.


Cut your butter into small chunks. When making pie crusts it has to be SUPER cold so I usually do this first then cover it and put it in the freezer while I get everything else together.


Add cold butter to flour mixture and pulse gradually. Add the 4 tablespoons of water (one by one) to the flour and butter mixture, pulsing lightly after each addition. Continue to add water (only if needed) until the flour mixture has reached a pebbly stage. Mixture will not be wet, but you should be able to press it together with your fingers.


Empty it out of your food processor and form into two equal parts and wrap in plastic wrap in the fridge for at least 1 hour.


Preheat your oven to 425'.
Meanwhile combine blueberries, sugar, lemon juice, and cornstarch (I didn't have any cornstarch so I just substituted flour and it came out fine). Set aside.


On a lightly floured surface roll out 1 of your dough pieces into a rectangular shape. And then cut into 6 squares, (or semi-squares as mine turned out).
Spoon filling onto the middle of each square. Brush egg wash onto opposite points.

Fold these corners overfilling to form a triangle. Press firmly to seal. Make sure dough is tightly pressed around the filling too.

Transfer turnovers to a parchment lined baking sheet. Cut slits into the top of the turnovers, brush tops with the rest of the egg wash, and sprinkle with sugar


My second dough piece was not cooperating so..........

I turned the rest of my filling into this...


....using pre-made pie-crust that I had in the freezer, and cutting out decorative accents from MINE. Both were terrific. Eat the same day though. Not real good heated up.


Related Posts Plugin for WordPress, Blogger...