Happy 2011 everyone!
To start off the new year I made a little something for Cal J. A super easy fleece beanie. Here's how you do it.
 Cut out your beanie from two different fabrics. One for the lining and one for the outer hat. You should have a total of 4 pieces. I used one of his beanies and traced it adding an extra 1/4" for seam allowance. And cut it 10" in length.
 Fold over the lining like shown...
 and cut a slit 2 inches deep straight down. Repeat with outer pieces of hat.
 Your slits should look like this.
 Fold your fabric so it's in half again and sew your slit closed using a 1/4" inseam, backstitching at the beginning and end. Do this on all 4 pieces.
 Now you should have two hat pieces. Both with seams facing out.
 ****Leave a 3 inch opening towards the top of your lining piece like this. Be sure to backstitch at the beginning and the end of the opening****
 Leave your outer piece inside out and turn your lining piece right side out like shown.
 Place your right side out lining piece INTO the outer hat piece.
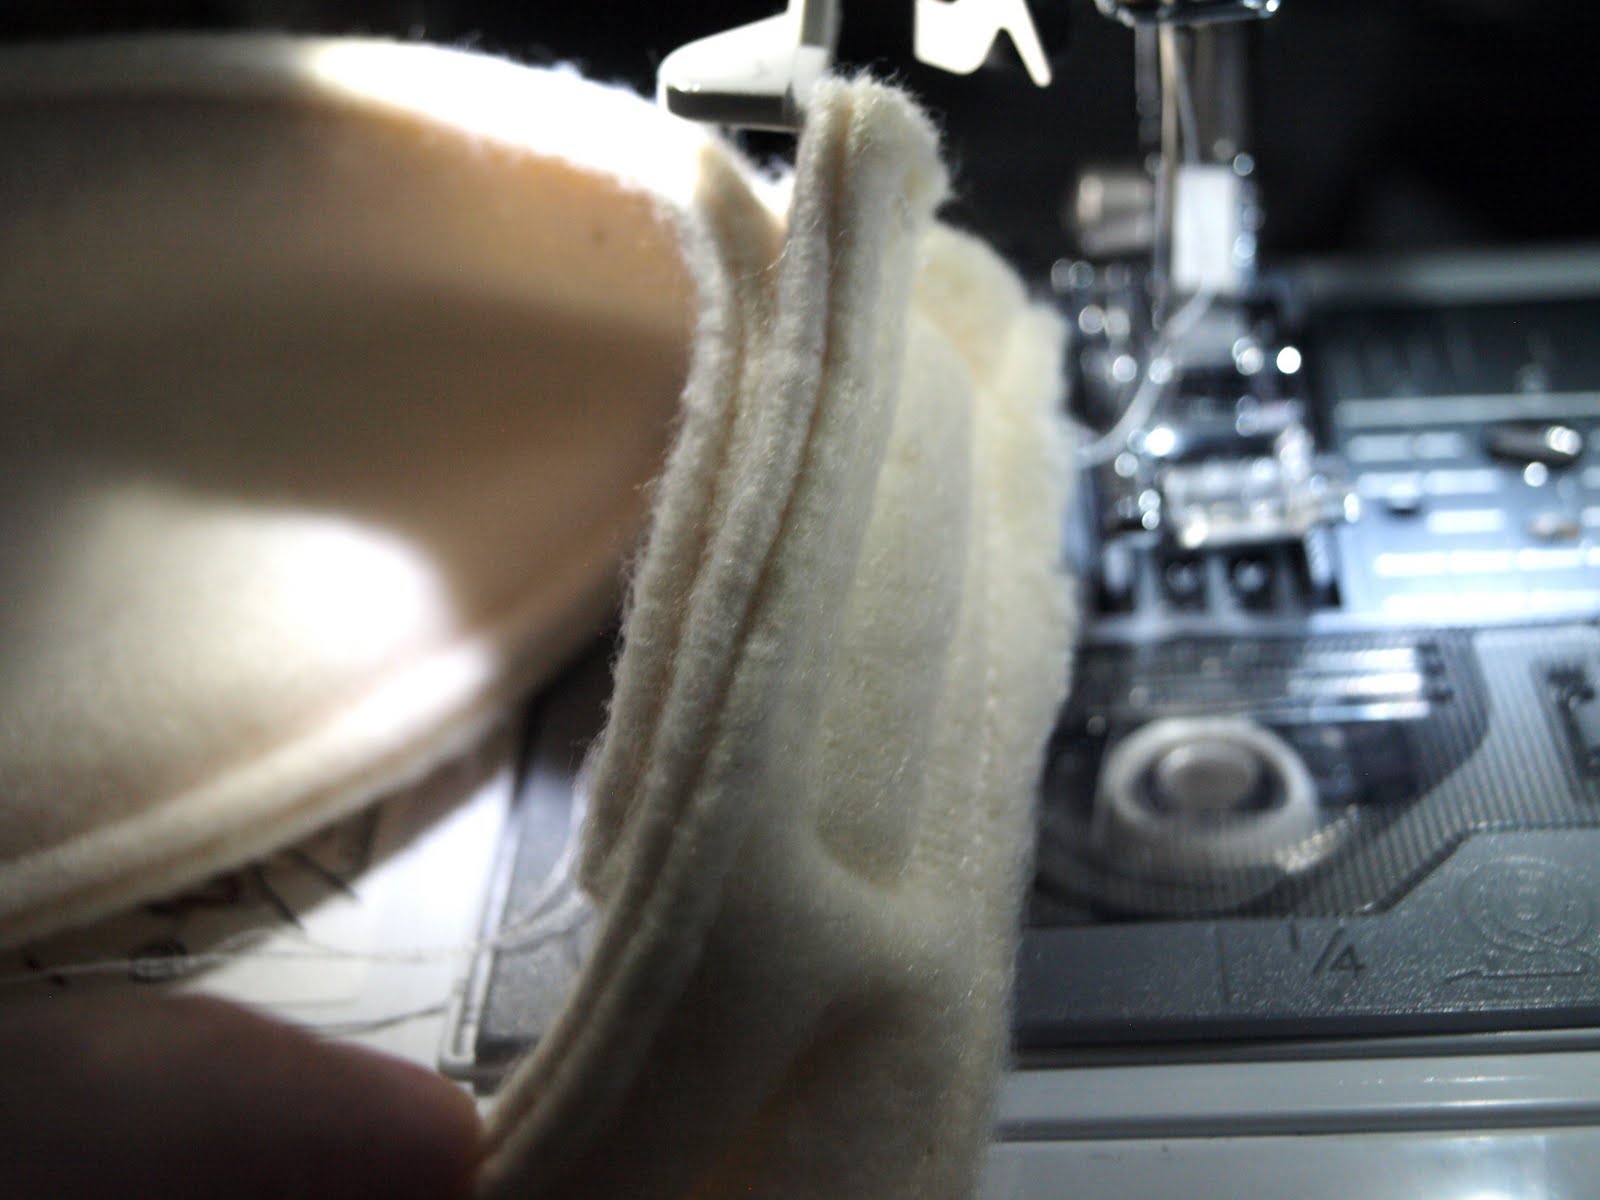
 Stuff all the way into the outer hat piece lining up the seams. Pin in place.
 Sew all the way around the hat opening so the outer and the liner are sewn together.
 It should look something like this.
 Now pull the lining piece outward so you have one big oval shape with the seams facing out.
 Now take your un-sewn opening on the lining piece and start to pull the hat right side out.
 Keep pulling....
 Here is the hat with the right sides out. Hand stitch the opening that you just pulled your hat through shut.
 You're almost finished...
 Now just fold upward so some of the lining is showing and you're done!


 Cut out your beanie from two different fabrics. One for the lining and one for the outer hat. You should have a total of 4 pieces. I used one of his beanies and traced it adding an extra 1/4" for seam allowance. And cut it 10" in length.
***Note: I should have actually allowed more width to the beanie. I'd suggest marking it a 1/2" wider all around the beanie your tracing. ***
 Fold over the lining like shown...
 and cut a slit 2 inches deep straight down. Repeat with outer pieces of hat.
 Your slits should look like this.
 Fold your fabric so it's in half again and sew your slit closed using a 1/4" inseam, backstitching at the beginning and end. Do this on all 4 pieces.
I got ahead of myself and didn't take pictures of the next step - just pin your fabric together with the seams you just sewed facing out and sew together.
 Now you should have two hat pieces. Both with seams facing out.
 ****Leave a 3 inch opening towards the top of your lining piece like this. Be sure to backstitch at the beginning and the end of the opening****
 Leave your outer piece inside out and turn your lining piece right side out like shown.
 Place your right side out lining piece INTO the outer hat piece.
 Stuff all the way into the outer hat piece lining up the seams. Pin in place.
 Sew all the way around the hat opening so the outer and the liner are sewn together.
 It should look something like this.
 Now pull the lining piece outward so you have one big oval shape with the seams facing out.
 Now take your un-sewn opening on the lining piece and start to pull the hat right side out.
 Keep pulling....
 Here is the hat with the right sides out. Hand stitch the opening that you just pulled your hat through shut.
 You're almost finished...
 Now just fold upward so some of the lining is showing and you're done!

Now, I know I said this was for Cal J. But apparently my measuring was off. It fit Ry-pie's head perfectly. I'll guess she'll be sporting a cool alien hat. Oh well.
I hope your new year has been off to a great start!