Winter weather is right around the corner. I can't actually feel it yet, but that's what the weather man is claiming anyways!
I had some leftover fleece fabric from a lining of a coat I'm "attempting" to make for Ry-pie, so I decided to use that to make a cute little ear warmer for her.
 Trace pattern onto your fabric. I used an ear warmer of CalJ's that I got at Wal-mart last year for a $1 as my template.
  Cut out two pieces of your fabric. Even though Ry-pies head is obviously smaller then her big brother, I didn't make my pattern smaller so I could allow for the seam allowance. And if you need to shorten it up you can just cut it shorter before it's complete.
  Lay pieces of fleece on top of one another, right sides facing. I actually used two slightly different shades of fleece but since these are not printed there actually isn't a right or wrong side. Just go with me on this. ;) Sew each side using a 1/4" seam, or so. Leave each end open and on one end stop sewing about 1 1/2" short of the end.
  Pin a safety pin to the bottom end that you DIDN'T stop sewing short on. Turn right side out, pushing the safety pin all the way through until it looks like the picture shown above. The reason you need to stop sewing all the way on one side end is because this makes it A LOT easier to turn inside out. The ends will be too small if you don't, making it almost impossible to turn it right side out. Trust me. I know. ;)
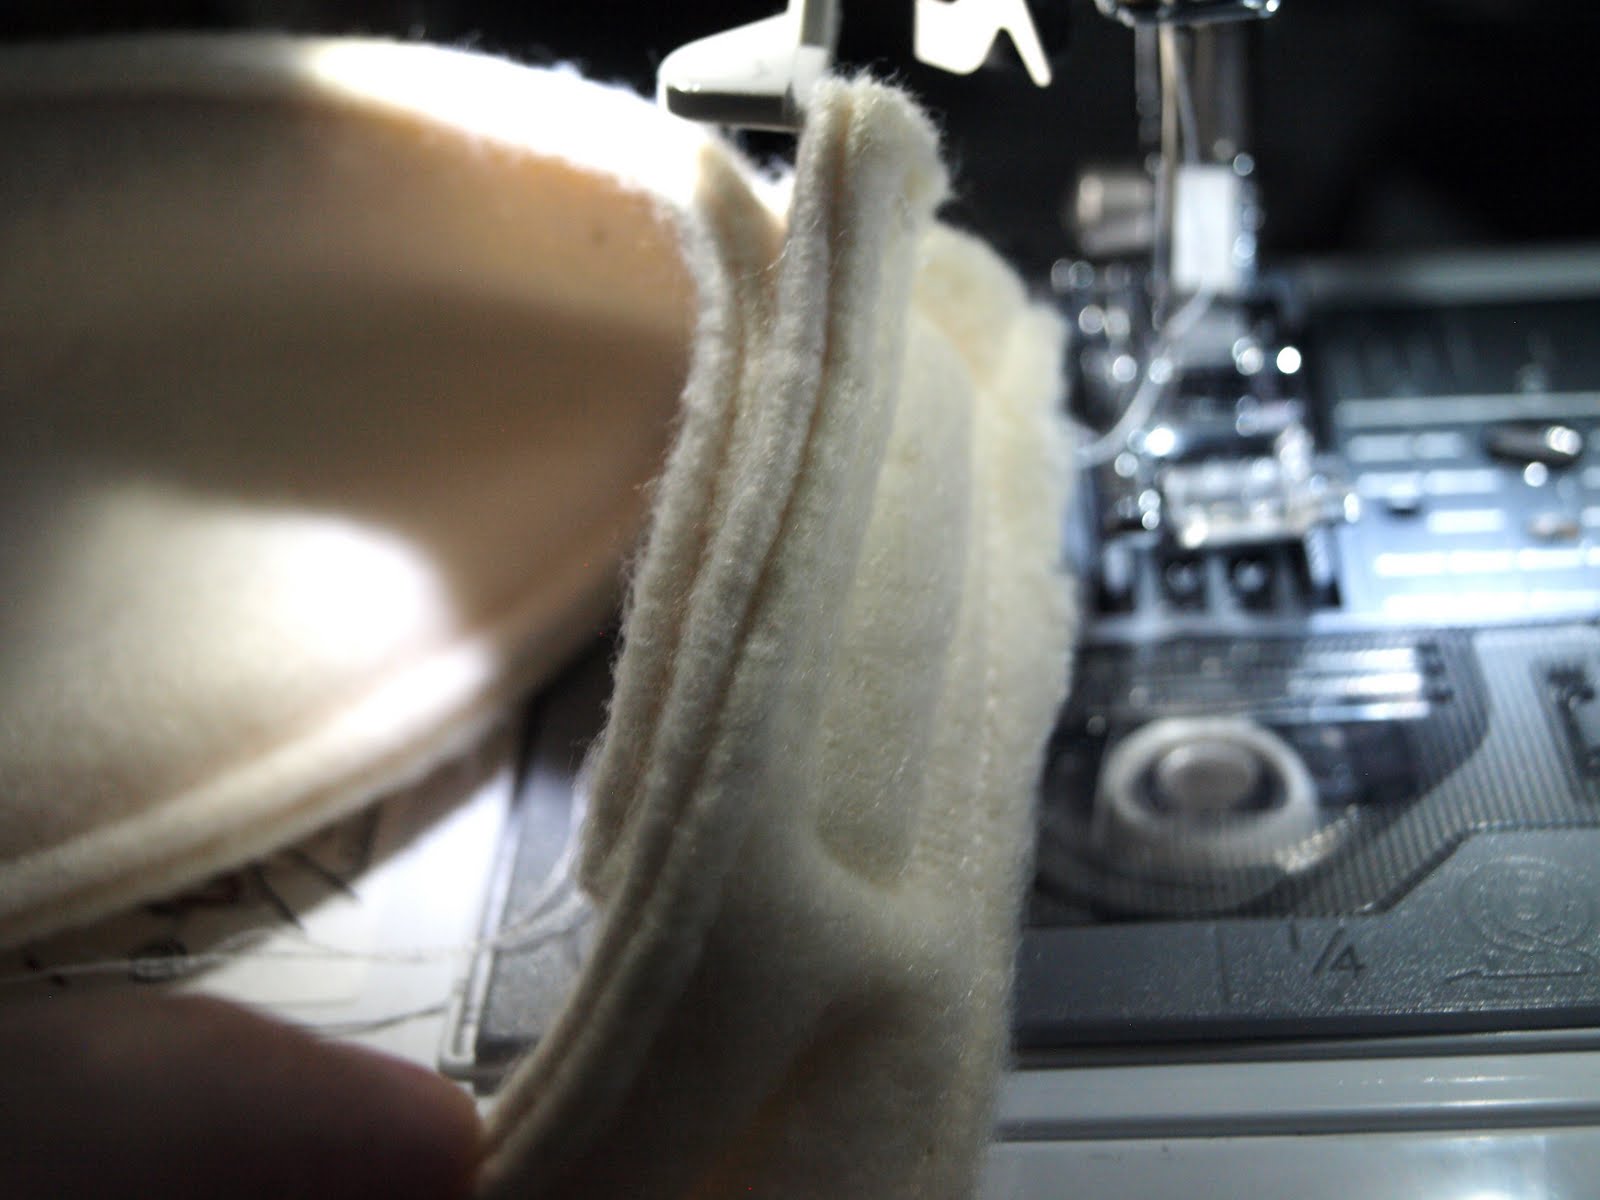
 Now, stitch around the entire ear warmer leaving a 1/4" seam like shown here.
 Wrap the ear warmer around your little munchkins head and mark with a water soluble marker where it's secure. This picture shows the open ends on top of her head but they will actually fasten at the base of the head. Ry-pie's not much for co-operating these days, so I have to take what I can get. It will still cover her ears when I flip it around.
 Take your sew-in Velcro and cut a large enough piece to start at the end of the warmer to the mark you just made.
  Cut another piece (the same length as you just used) of the opposite side of the Velcro and sew to the other end of your warmer. Make sure that your ends will line up and attach when placed around the head.
 Here's what your Velcro ends should look like when they're sewn and fastened into place. You could tuck the ends of the warmer before you add your Velcro so your ends look nice and tidy. I skipped this step so my ends are unfinished. Which is fine with me.
 You still with me?
Good, I'd hoped so!
You can stop there, which is fine. But let's keep going, shall we?
Now onto the decorative part.
 Draw circles onto your fleece material.
  And cut out shapes.
  Sew a straight line - just a little off-centered -starting with one circle and adding an additional circle when your stitch reaches the center of the circle. I pulled on the fabric a little bit while I stitched it in place - creating a slight oval shape. Be real careful as you feed each circle through. The fleece tends to wiggle a bit, so make sure it's lying flat and doesn't fold over onto itself.
  Your first stitch of circles should look like this.
  Then stitch another line, just like the first, about 1/4" parallel to the first stitched row.
  Place onto a piece of felt (in a similar color).
 Glue onto felt.
  Cut out felt so no felt will actually be showing. Adding the felt will give your circles a little more stability.
 Lie it next to the warmer and mark where you would like them placed.
  Glue onto warmer.
 Thanks for hanging in there!! Lots of pictures and lots of instructions - but all in all it's not that difficult a project.

I hope you enjoy!