
Have you ever found a recipe that just sounds so good and so interesting you can't wait to try it? I have. Actually I've been wanting to try this one out since mid October, and just barely got around to making it now.
The worst thing about it - after all my excitement and waiting, I DIDN'T love it! I'm sharing it anyways, because after a few little tweaks, it came out great.
Adapted from the Taste of Home Magazine
Original recipe found
here
Here is how I made it, plus my changes.
1 cup pumpkin pie puree
1/4 cup ricotta cheese (or cream cheese would be great)
3-4 tablespoons brown sugar
1 teaspoon pie spice
wonton wrappers (I used about 20)
***just an after-thought, a little dash of vanilla would have been really good to add***

Start off with a cup of pumpkin puree (canned or homemade), 1/2 cup of ricotta cheese, and one teaspoon salt, (this is the beginning from the original recipe). I think the goal for the original recipe was to be a sweet and savory sort of snack. The savory from the filling, and the sweet from the sauce. It didn't quite cut it for me, so here I added 4 tablespoons of brown sugar and 1 teaspoon pumpkin pie spice. My goal being - pumpkin pie, in a wonton.

Mix together.

Take out one of your wonton wrappers. Keep the other wrappers covered with a damp paper towel so they don't dry out.

Place a spoonful of your mixture onto your wonton wrapper as shown.

Take a brush (or your finger,
cleaned please) and wet all around the outer edges of your wrapper.

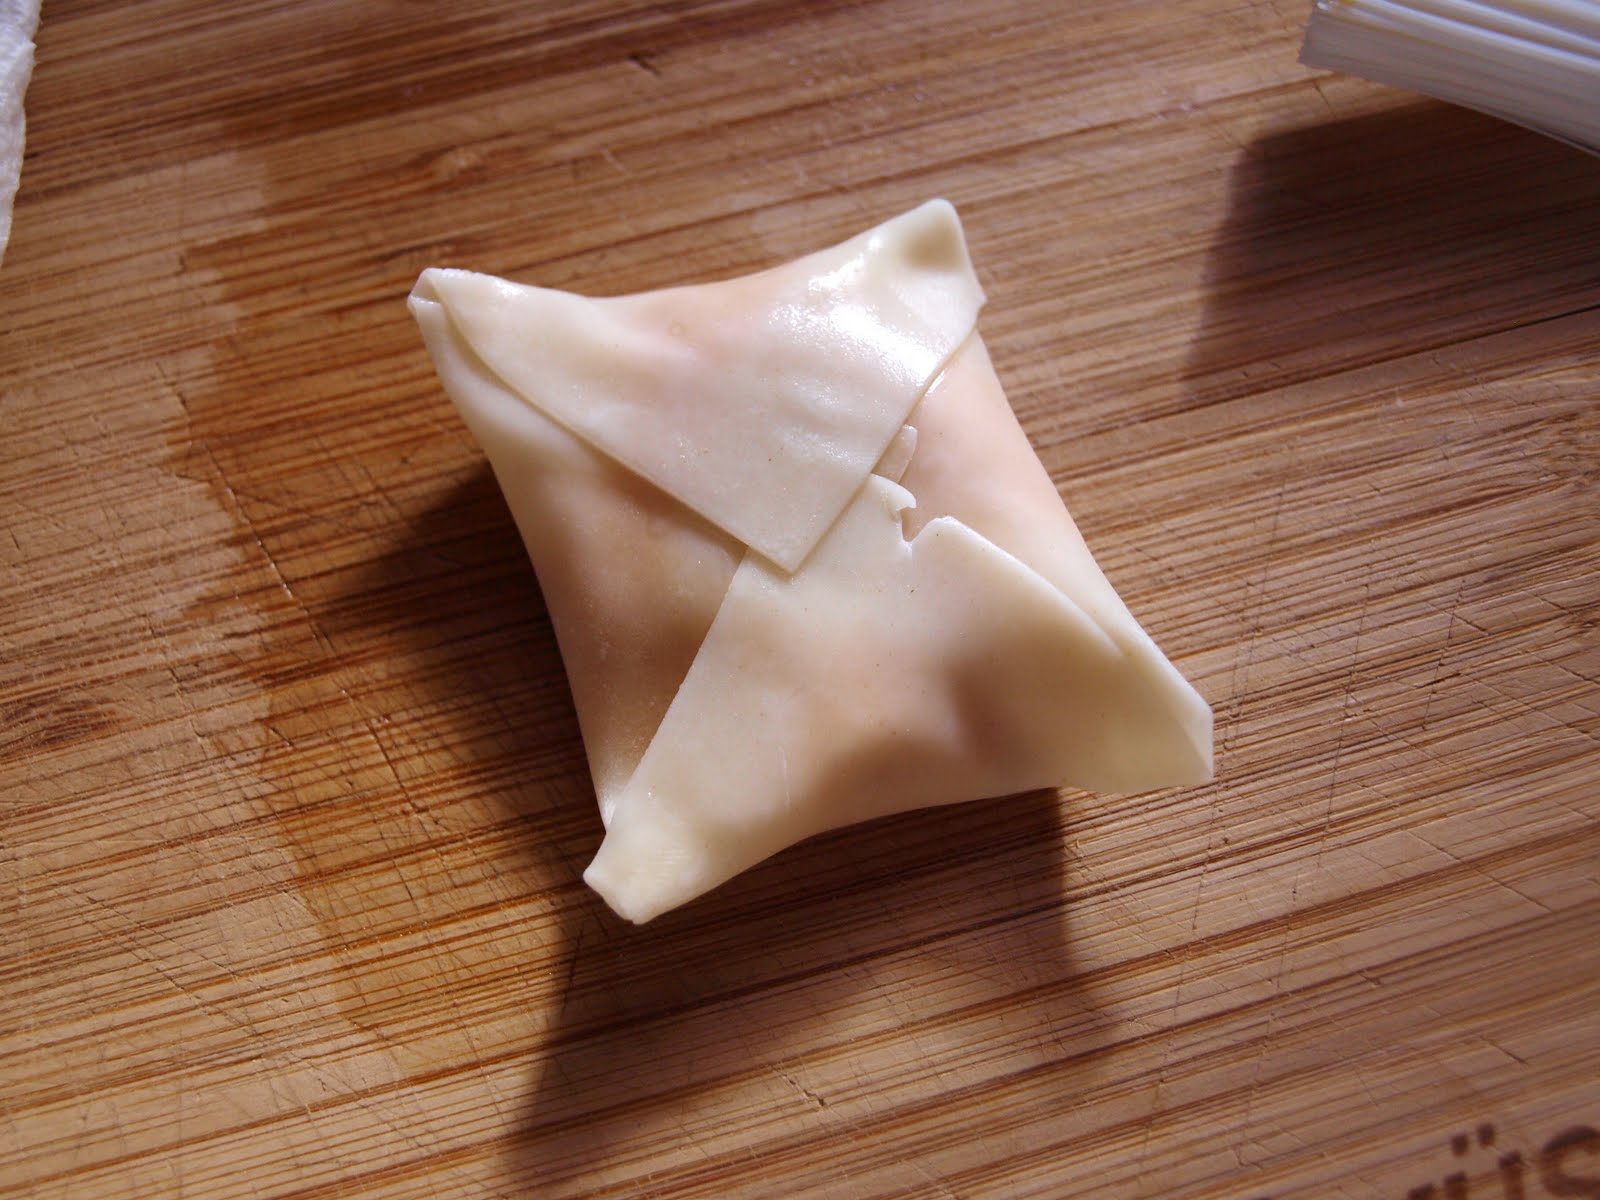
Take one corner and fold into center, followed by the opposite corner.

Do the same thing with the other two corners so you have a nice little package. Make sure you press down on the seams so it's sealed tightly.


Place in some hot vegetable oil to quickly fry up. About a minute on each side until they get golden, but not real browned.

Set on a paper towel lined plate to cool.

Now onto the dipping sauce. THIS WAS AMAZING.
1/2 cup powdered sugar
1/4 cup apricot preserves
1/2 teaspoon cinnamon
1-2 tablespoons water (for thinning)
The original recipe called for sour cream which I didn't have, nor did I think sounded appetizing, so I omitted it. This was SO GOOD. It would be fantastic drizzled over a spice cake. And I'm putting that on the top of my what-to-bake-next list.
This whole pumpkin-pie wonton thing came out of no where. I would have loved to have had it with a little bit of whipped cream. But of course, this being an unexpected turn of events I didn't have any on and. Next time perhaps...

 As promised. Here's a little tutorial for the hair clips Ry-pie had in her hair for this post.
  Start off with your fabric. I used knit fabric for the turquoise one but I made some out of regular cotton and they came out great too. Trace a circle onto your desired fabric.
  Cut out circle.
  Dot center of circle with glue. Fold outer edge of circle half way in, and glue onto center of circle.
  Put another dot of glue in center (over the part you just folded). Take the "open" side that you just folded and bring to center on top of glue dot.
 It should look like this.
  Continue and repeat all the way around. Alternating glue dot, and folded fabric.
 Until you get something that looks like this. You should end up with a total of 5 folds (depending on your size of fabric).
  Glue a button or any other kind of embellishment your heart desires. ;)
 Easy right? Now go on, make a whole slew of them.


