Monday, May 31, 2010

Root beer float popsicles


So I've been wanting to start featuring on Friday's some kind of desert or baked good that I've made. I really had wanted to post this on Friday, but didn't get around to it so here it is today....

I saw this a long time ago in a magazine (unfortunately, I don't remember which one...Real Simple, maybe?) and thought it looked so yummy. So me and CalJ made some. And they DID NOT disappoint!

Start off with your root beer of choice. I made regular and diet pops! Vanilla ice cream and whatever popsicle molds. (I got mine from Bed Bath and Beyond forever ago).


Fill your molds about half way full


Then top with a healthy dollop of ice cream. Carefully though, sometimes the root beer will puff up a bit.

Add just a little bit more root beer so the mold is almost completely full.

Freeze.


And wait.....

Maybe play a little piano or something?....


Pop 'em out and enjoy! I know he did!!!!


And naturally caffeine free! ;)


Wednesday, May 26, 2010

Head Scarfs

I bought this adorable pattern for a head scarf on Etsy from Frog Legs and Ponytails.

So cute.

Take a look for yourself....


And so easy to make!


Friday, May 21, 2010

Blueberry pies


This was adapted from a Martha Stewart Everday Food recipe. Here are her directions And I'll just explain how I did it.

Ingredients:
Crust:
2 1/2 cups all-purpose flour, plus more for rolling
1 teaspoon salt
1 teaspoon sugar
1 cup (2 sticks) cold unsalted butter, cut into pieces
4-8 tablespoons ice water

Filling:
2 cups mixed berries (fresh or frozen), such as blackberries (halved if large), blueberries, raspberries, and strawberries (quartered)
I only had blueberries on hand so that's what I used. I love the fact that I could use frozen berries!
1/2 cup sugar, plus more for sprinkling
2 tablespoons cornstarch
4 teaspoons fresh lemon juice
2 large eggs, beaten with 1 tablespoon water, for egg wash

So I'm not the greatest "crust" maker but it's pretty easy to make.

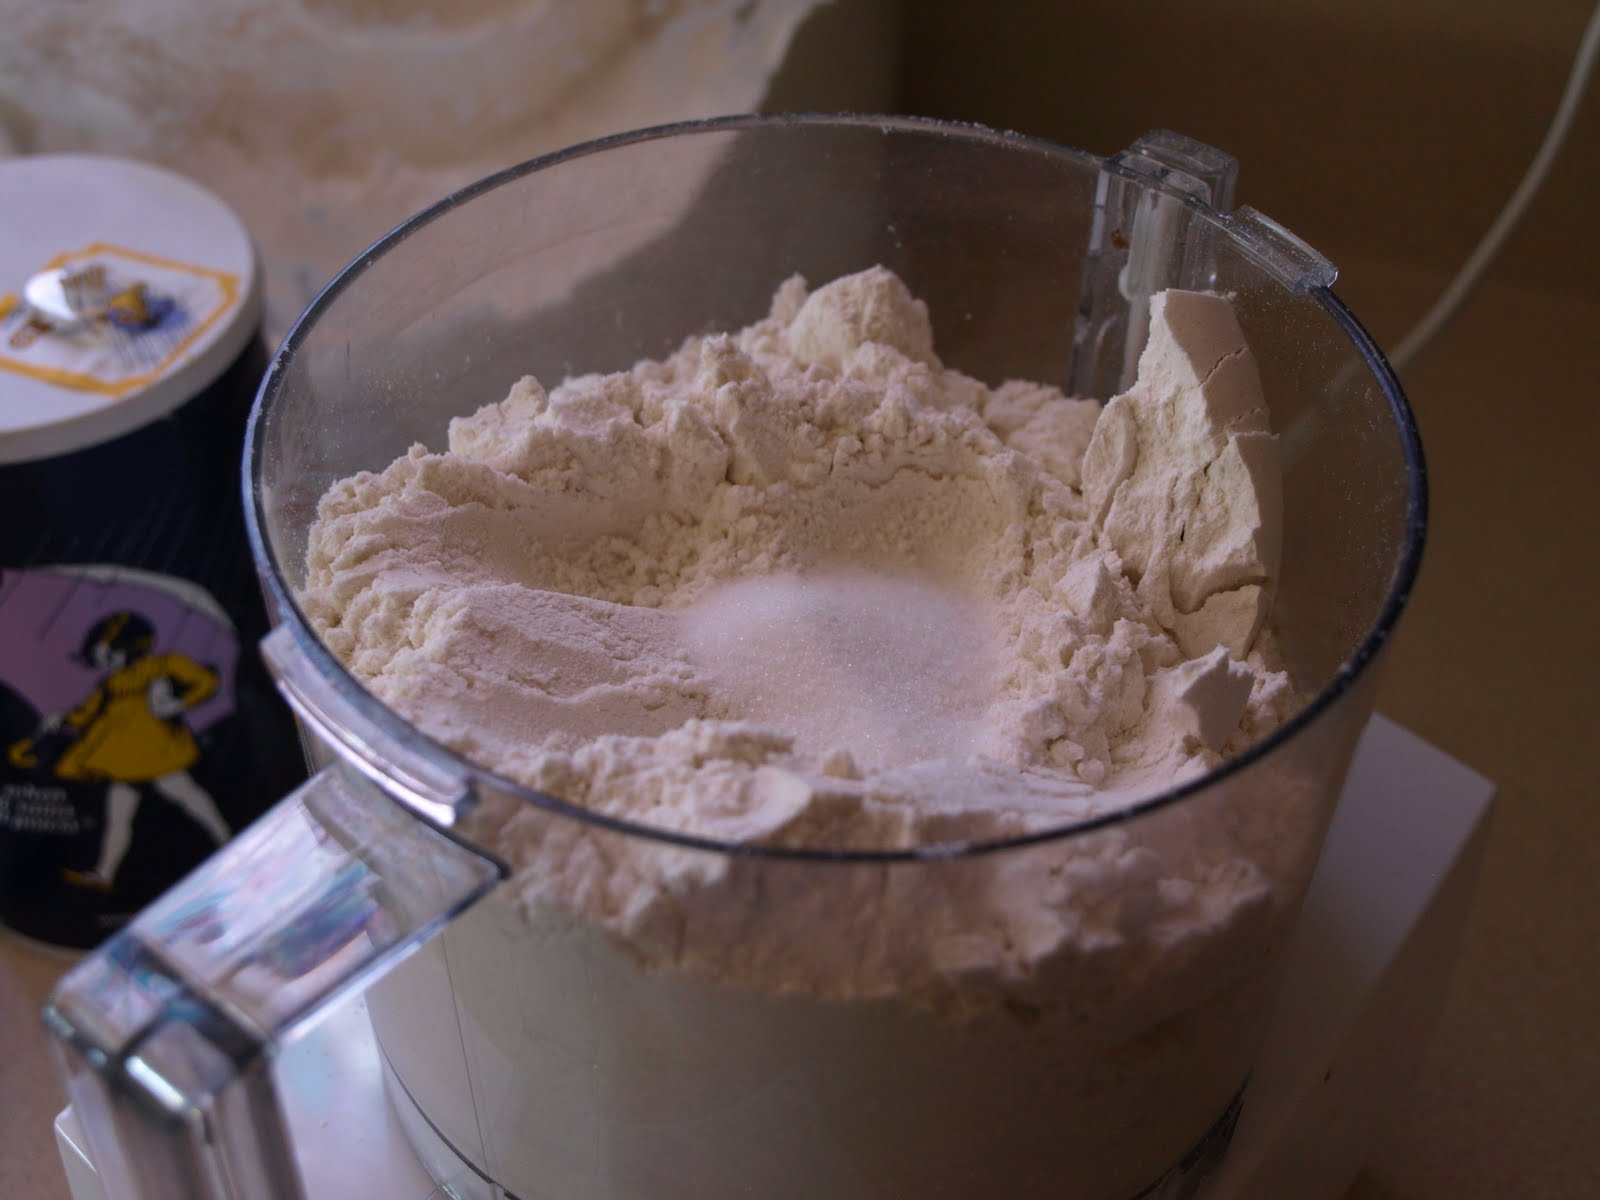
Add your flour, sugar, and salt into a food processor and blend lightly. The original recipe called for 1 tsp of salt but I used salted butter so I cut it down to 1/4 tsp instead.


Cut your butter into small chunks. When making pie crusts it has to be SUPER cold so I usually do this first then cover it and put it in the freezer while I get everything else together.


Add cold butter to flour mixture and pulse gradually. Add the 4 tablespoons of water (one by one) to the flour and butter mixture, pulsing lightly after each addition. Continue to add water (only if needed) until the flour mixture has reached a pebbly stage. Mixture will not be wet, but you should be able to press it together with your fingers.


Empty it out of your food processor and form into two equal parts and wrap in plastic wrap in the fridge for at least 1 hour.


Preheat your oven to 425'.
Meanwhile combine blueberries, sugar, lemon juice, and cornstarch (I didn't have any cornstarch so I just substituted flour and it came out fine). Set aside.


On a lightly floured surface roll out 1 of your dough pieces into a rectangular shape. And then cut into 6 squares, (or semi-squares as mine turned out).
Spoon filling onto the middle of each square. Brush egg wash onto opposite points.

Fold these corners overfilling to form a triangle. Press firmly to seal. Make sure dough is tightly pressed around the filling too.

Transfer turnovers to a parchment lined baking sheet. Cut slits into the top of the turnovers, brush tops with the rest of the egg wash, and sprinkle with sugar


My second dough piece was not cooperating so..........

I turned the rest of my filling into this...


....using pre-made pie-crust that I had in the freezer, and cutting out decorative accents from MINE. Both were terrific. Eat the same day though. Not real good heated up.


Monday, May 17, 2010

Plastic bag holder


I really do try my best at not being a slave to plastic bags, by using reusable totes and what-not. But it's absolutely impossible (for me) to never use them. I'll find myself making an unexpected trip to the dollar store or whatever, and CRAP! I forgot one of my totes. Where do you house the bags that accumulate? You can't just throw them away! At the bottom of the pantry? Under the sink? Here's a great way to keep them tidy and out of the way.

Materials:
Kitchen towel
Thread
Pins
Safety pins
Ribbon
Elastic

Fold your towel in half lengthwise and sew a 1/2" seam along the long edge backstitching at the beginning and end. Stop short, 1" from each end.


At one end, fold back 1" of fabric, and sew 1/2" from the edge to form a hem. Leave both ends of your hem open.


Attach a safety pin to your elastic piece and slide it through your hem until you reach the end. (the length of your elastic will depend on the opening of your towel. Just thread it through leaving 1" of elastic to overlap with the other end of elastic. Make sure when you thread the elastic through it puckers up a bit). Sew the ends of the elastic pieces together, then sew the hem closed.

Do the above step again on the opposite end of your towel but thread the ribbon through it instead of the elastic. Don't sew the ribbon pieces together. Allow an extra 3" on each end to hang out and sew your hem shut. Tie the ribbon together.

Turn your towel inside out and fill it with your bags. Stuff the bags through the ribbon end and pull them out as needed from the elastic end. I just hung it on a hook from the inside of my pantry door.


Sunday, May 16, 2010

Freezer paper shirt


Have you ever heard of freezer paper? Well, it's awesome! And a total MUST for any "crafter" to have in their craft arsenal.

Now here's a quick run down on how I made this shirt for CalJ.
But you can also check out i am momma hear me roar, who has a great tutorial (a video one, no less) on how to make one.

The supplies:
Freezer paper (at Wal-mart for under $6)
T-shirt
pen or marker (for tracing)
exacto knife or sharp blade
fabric paint
iron
cutting mat

Place your freezer paper on top of the image you are going to trace.

Trace image. I used a sharpie because I needed the thick lines to cut the outline of the tire.

Cut out your image and place onto your shirt and iron on. Be sure to replace any cut outs that you don't want to be painted, like I did with the center of the tire and the center of the letter O's.

Paint onto the stencil the parts you cut out.

Wait for paint to dry then carefully remove freezer paper. Place a towel or cloth over image and iron over once more to heat seal your graphic.


Voila'. A cute looking tee with one of my favorite sayings!


Related Posts Plugin for WordPress, Blogger...